February, 2012
February 29, 2012
Podcast time with Popmonkey, of www.Motopodcast.com
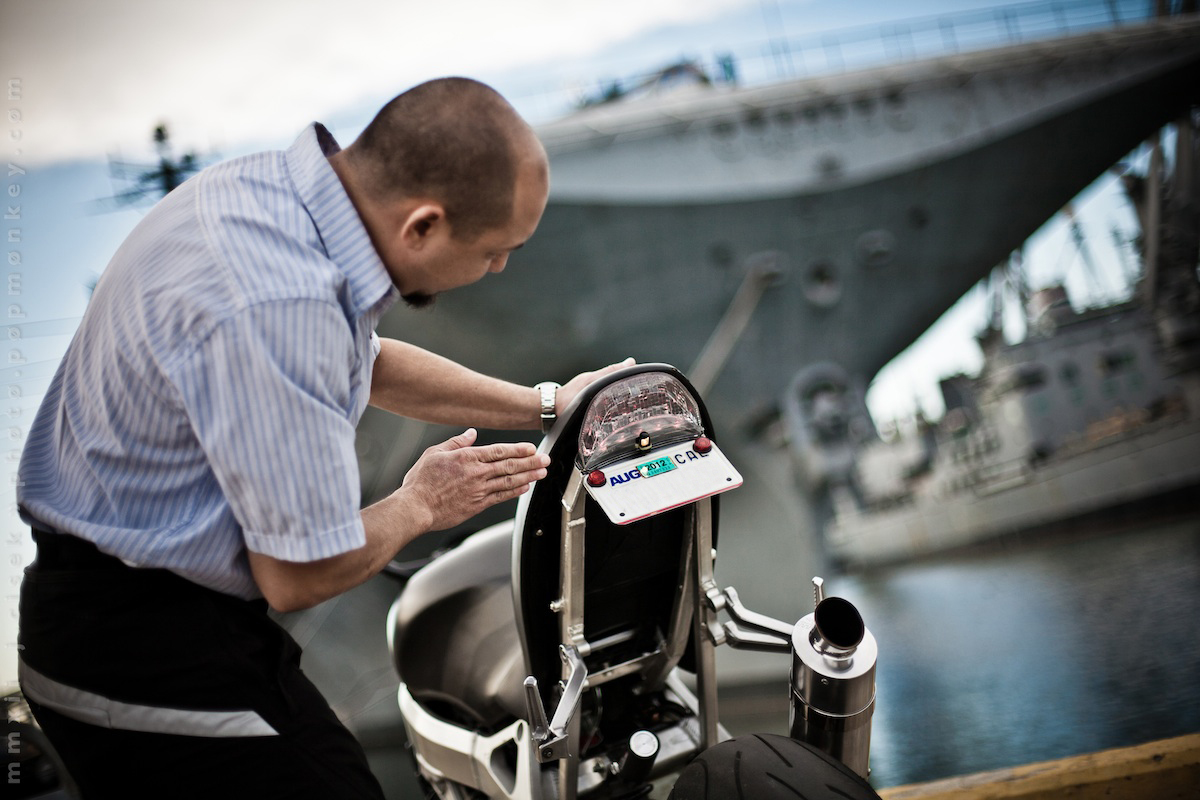
Last week I had the chance to meet up with my friend Jules "Popmonkey" Cisek, grab a bite at Alice's, and then go for a quick ride through the hills before ending up at my place in San Francisco. After what I'd observed on our ride, we talked about Jules' comfort level on the bike and decided to work on the rear Ohlins suspension of his Hypermotard, setting the sag and nearly replicating the settings used by my friend, Brad, on his Hyper. For some reason (could be the truck-like dimensions), I've never been able to get on with this particular bike, but Brad goes quite fast on his so it obviously works.
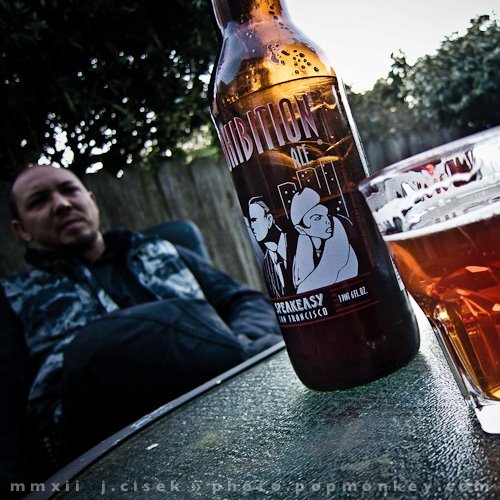
Jules then took a picture (I know, go figure) of the post ride beer he was enjoying.
We spent some time just catching up and managed to record a decent segment for the Motopod show (formerly MotoGPod, but now Motopodcast). We spoke on a number of subjects (not all about racing) and it was truly special to be able to spend some time just being open and honest with an old friend.
Here's the full episode, "And so ends our winter of discontent" Jim Race, Martin Darlington, Brett McCormick, and Simon Pavey also feature, and at 2 hours and 43 minutes, it's quite a long show.
Here's the recording of Jules and myself. I think it does a good job of conveying where I'm at these days, hope you like it.
February 23, 2012
Winter Project 2011.5.0 Rears in Arrears.
I've documented a few of the changes that I've made to the front end of my Fireblade, but I haven't really explained all the changes I've made to the rear - so now it's time to pay up! I tried my best to keep the front end of the bike as simple and elegant as possible, while still creating my own unique "face" and using this to accentuate the broad shoulders of the frame spars. I wanted my headlight to be small and discreet, to blend into the forks and triple trees, and I feel I've succeeded nicely. The powerful HID works exceptionally well and has held up to the abuse of rainstorms, hard landings from wheelies and 10-15(!) foot jumps up and down Mansell St. If you use Google street view, you'll see the four distinct crests coming up from the freeway exit, and while a seat bounce at 45 MPH will get your wheels in the air, a blast up any of these at 60+ will almost clear both lanes of cross traffic and allow you to land on the next rise . . . . but I digress.
Back to the rear end. Hiiiiiiii-Yah!

I'd been riding the bike for some time using a modified stock rear swingarm, housing my 999S wheels (added swingarm spools and a pin for the rear Brembo brake caliper hanger, captive spacers to adapt to the larger rear wheel bearings on the stock steel 900RR axle). I really enjoyed riding the bike in this configuration, but the suspension wasn't balanced well and I felt more confident in the completely original set up . . . so there would surely be more changes to come.
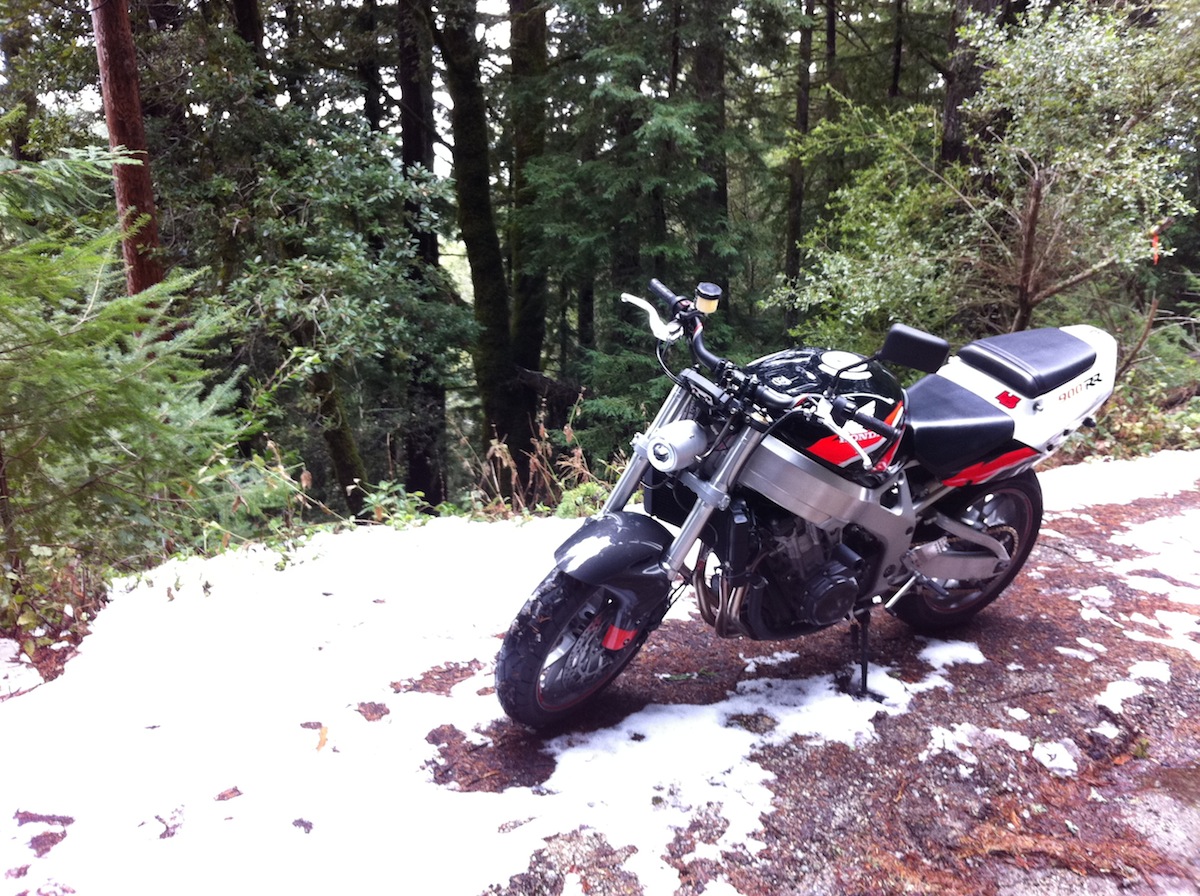
Shortly after I'd gotten the forks and wheels mounted, I took a brisk and slippery ride through the Santa Cruz mtns to check the bike. Note the original levers and lack of carbon fiber flyscreen. YES, that's SNOW.

I then parked the bike for the majority of 2011, losing my desire to ride and generally distancing myself from motorcycling for more than 6 months. I had begun focusing on my Datsun 510 project, and really just needed some time and space away from what I knew and loved, in order to rebuild myself and rediscover what I know and love. In late October of last year, a good friend visited from Spain, and we toured out for a full day's ride. I began to feel passionate again and decided that now was the time to finish my bike and get closer to being who I am - which is the combination of my past and present, not only my past.
The big rear end visually dominates the bike and make the tail seem heavier than it really is (I really, really miss having a large trunkspace these days). My vision wouldn't be complete without changing all the bodywork, so I was constrained to be a "Slave to fashion". It's often all about compromise, but I didn't want this bike to be compromised at all, so no shortcuts were taken. I actually have plans to make some carbon fiber hardbags for myself so I can tour up and down the coast when the weather is nice (or the timing is right).
I challenged myself to finish the bike within 3 weeks . . . and yes, the bike was "off the road" for this amount of time, something I'm usually reticent to do because I love the freedom of just being able to suit up and forget about everything when I want to go for a ride. I was also realizing that being able to forget was not the real reason I loved riding so much - the focus and concentration demanded by riding well actually helps me think seriously about many things and this helps to grow my mind and spirit.

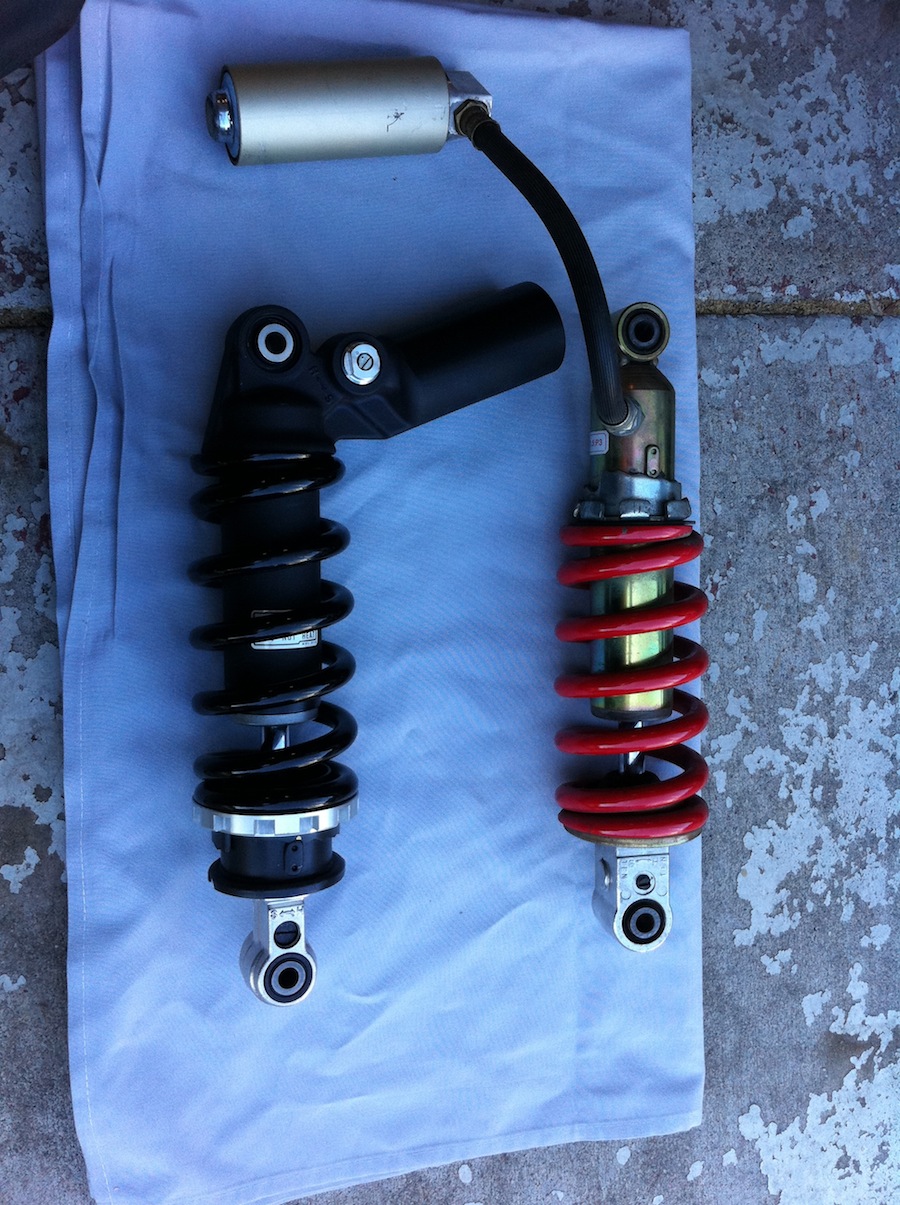
The first step towards getting the rear end situated was ditching the original rear shock for something more modern, such as this beautiful Showa unit used on the 2008+ newer Honda CBR1000RR's. The aluminum shock body helps reduce weight (7.2# original versus 6.0# new = 1.2# lighter, a difference of 17%), and the integrated reservoir looked good but required some modification because the shock res. wouldn't fit under the stock subframe because the battery box brace interfered. Solution? Modify subframe and leave the shock to do its work without issue!
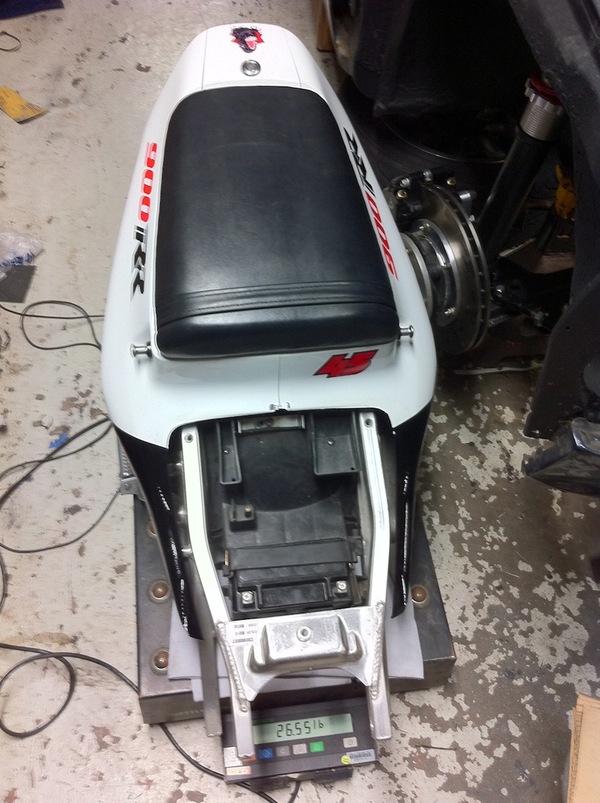
Snip snip went the cutting shears . . . and the tail section and subframe (plus battery) came in at 27 pounds.
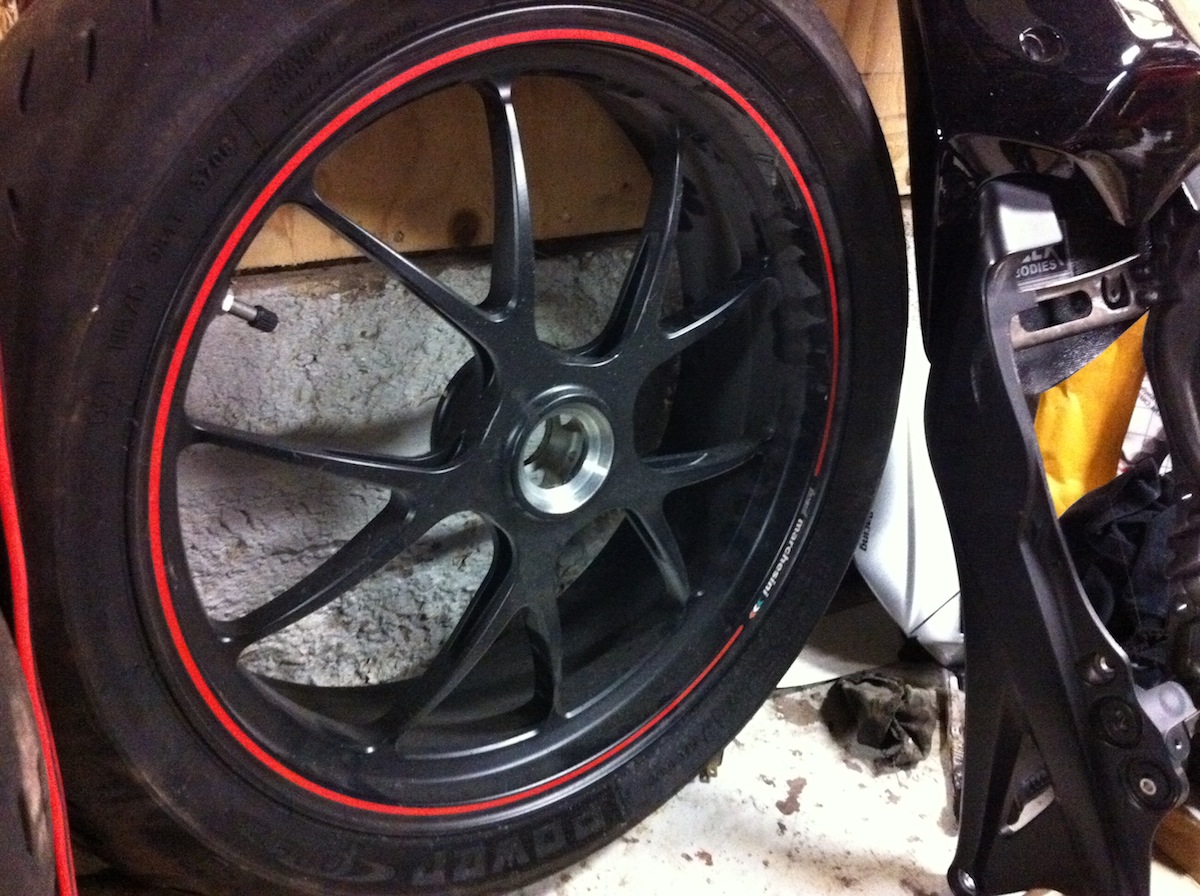
Meanwhile, I had been looking at this dusty, forged Marchesini rear wheel that had been laying around the garage. Ideas had been formed, plans had been made, and it was time to take action. CBR1K subframe sitting next to it was also under consideration . . .

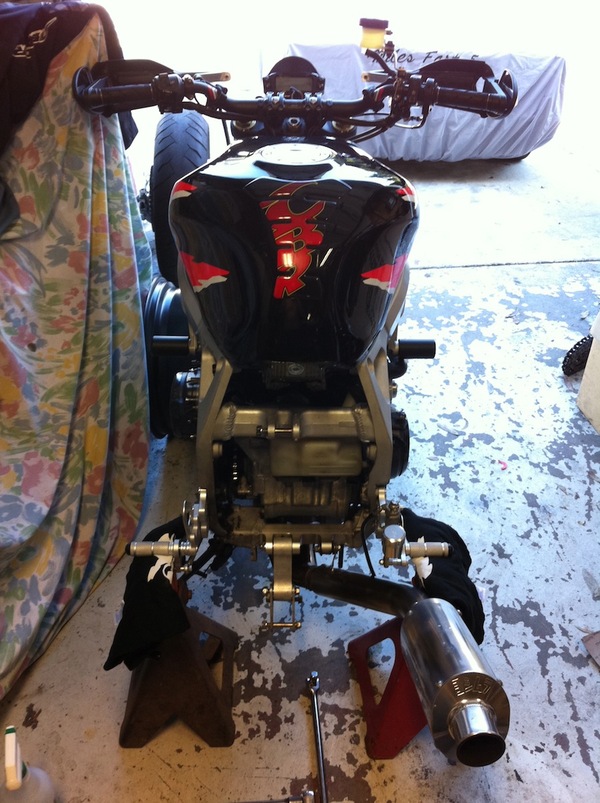
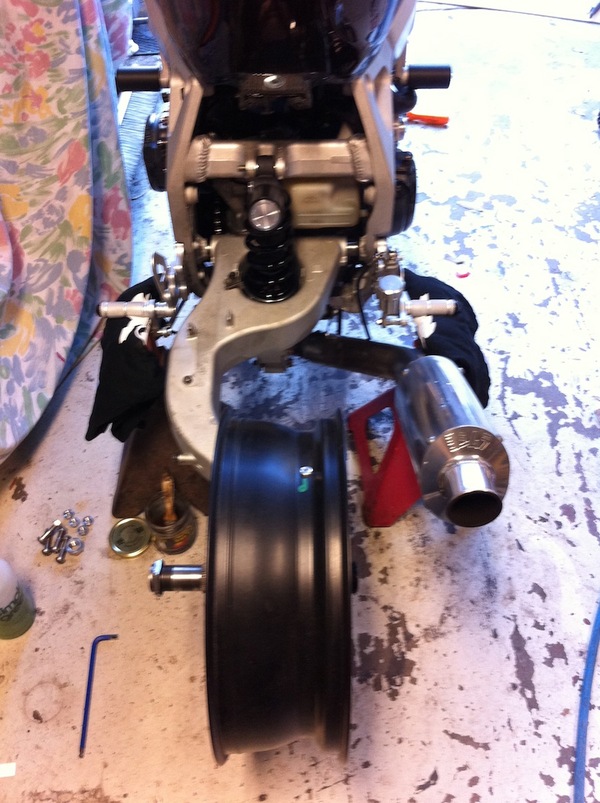
This is how the bike would sit for the next couple weeks. With the swingarm and subframe removed, I had a clear canvas to paint the rear in any direction I wanted. Note the radiator hoses; this is the original routing for the lines.
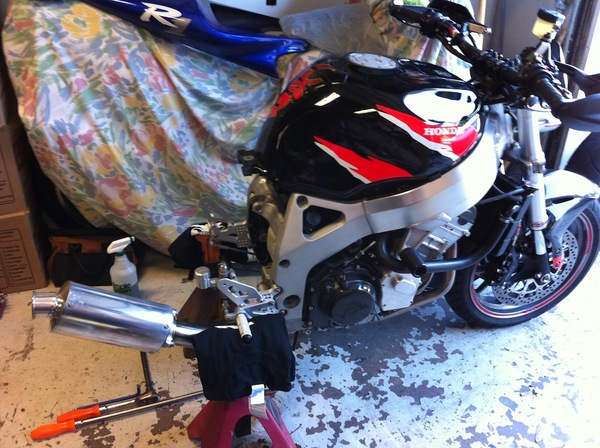
I know it's old-fashioned, but I like how the bike simply ends at the frame when the rear is removed. I felt like I was working on a wheel barrow at this point.
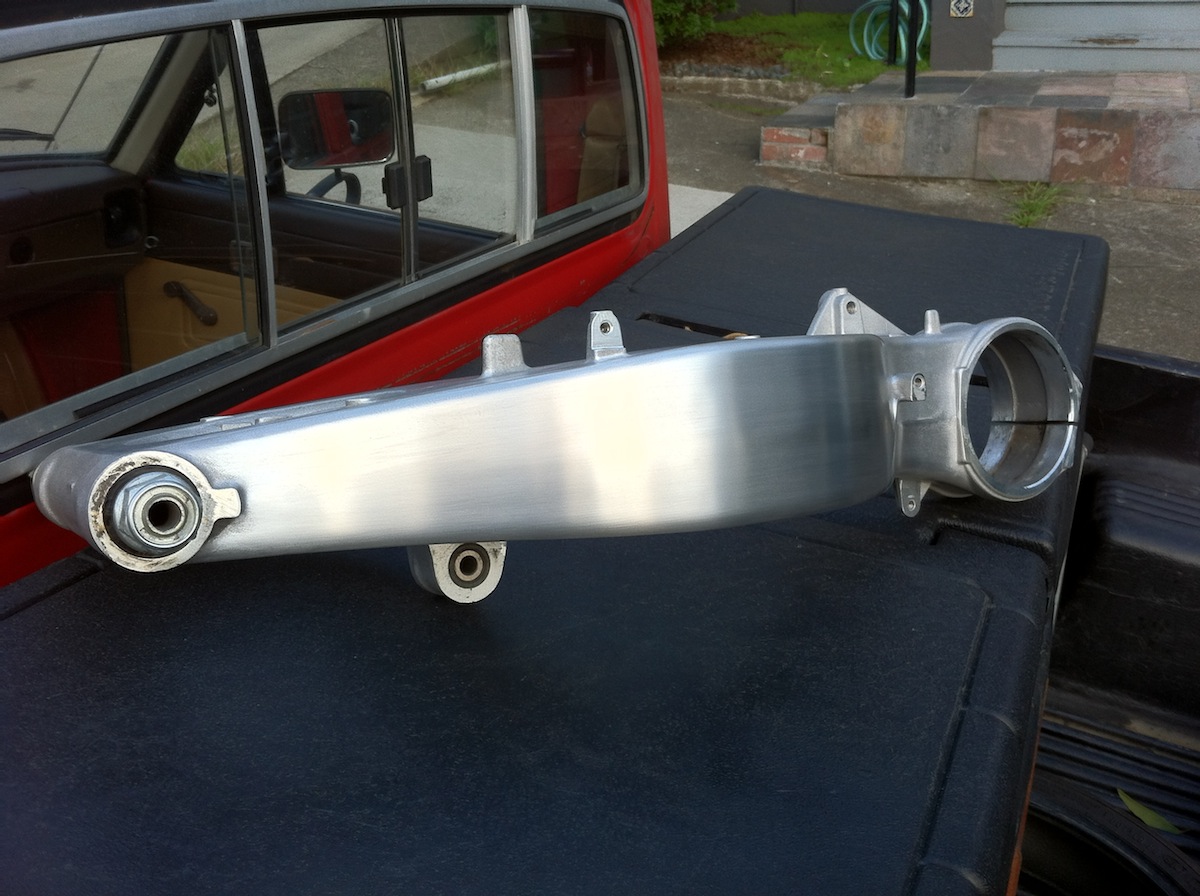
1996 Honda VFR 750 rear swingarm, purchased on eBay from a wrecker in Arizona. It would need some work and was heavily corroded and acid-etched - but it was strong and true.
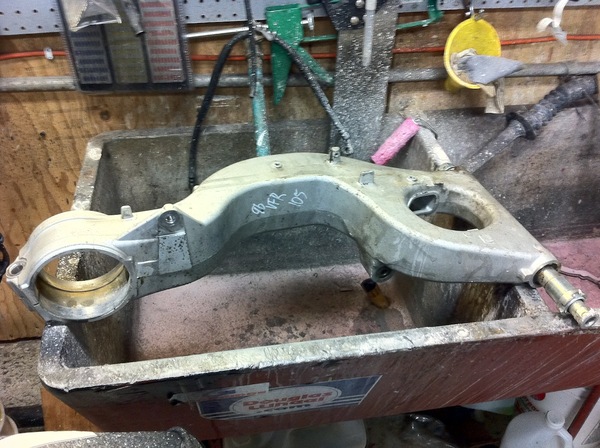
Orbital sander with water attachment would handle the majority of the flat areas, and would have been perfect for a more standardly shaped box aluminum arm. The VFR arm is one giant curve, and the casting marks were quite deep. I'm not sure what grade of aluminum it's made from, either, as it was noticably more durable, and heavy, compared to other swingarms I've cleaned up.
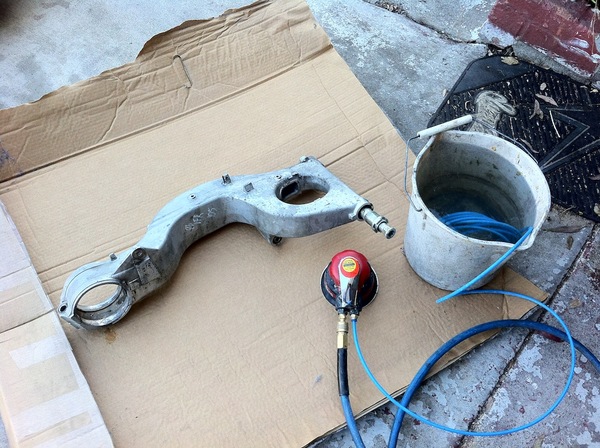
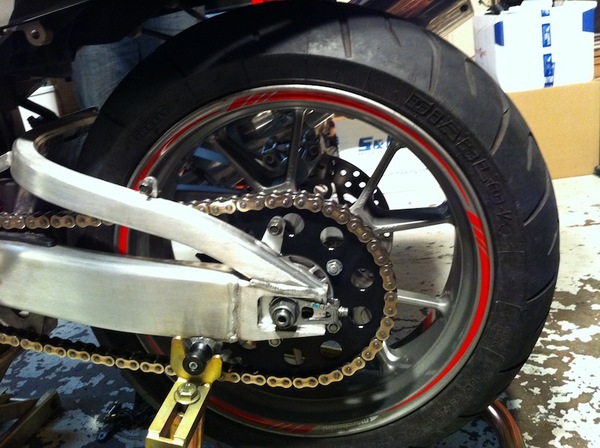
And clean up it did! This is approximately 8 hours worth of sanding, brushing, buffing, and polishing to achieve the same finish that's on the main frame spars (I spent even more time on the nooks and crannies, but the main parts were done in this photo). Fully polishing it would have looked tacky, in my opinion, and I'm a big fan of brushed aluminum. Even now, I continue to clean this part as HRC does in motoGP . . . with soap and water, steel wool and scotchbrite.

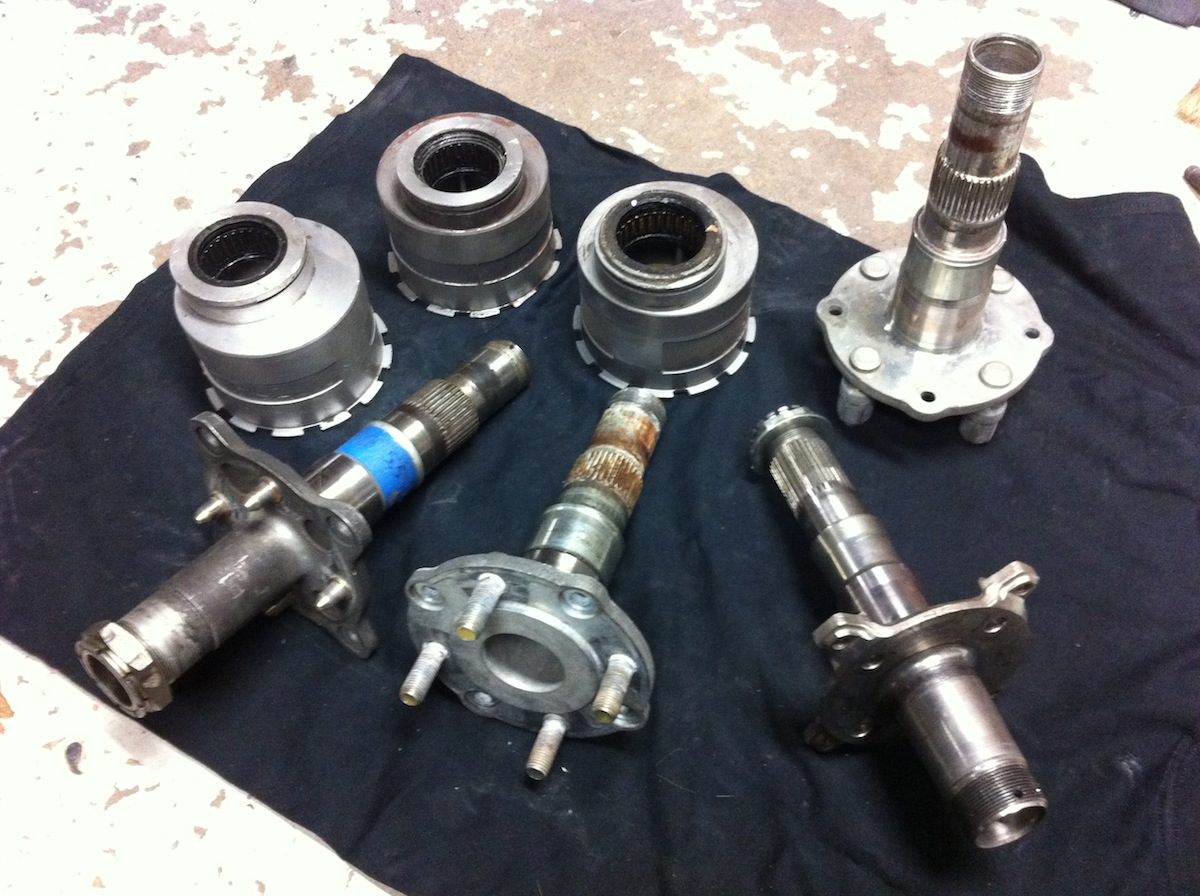
The arm was just part of the equation. The rear single sided Marchesini was meant for a Ducati Hypermotard "S" model, and used a single nut to bolt it to the axle/spindle. The Honda VFR design uses a shorter axle with four studs, exactly like a small automobile uses (the exact same pattern and measurement, 4x100mm). I'd been reading about other people's conversions online, scouring various forums and informational websites, but all the info was misleading, incorrect, and just plain confusing. I decided that the only way I'd be satisfied with the job done would be to examine as many possibilities as I could, make my own measurements, and make my own designs. I trust myself much more these days than I ever have.
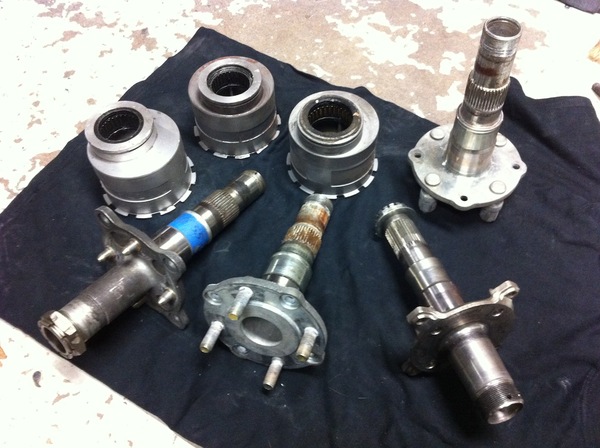
Various hubs and spindles (axles) from Triumph, Honda, and Ducati. There are a few other bits and pieces involved, but using a combination of these three, I would make it work.
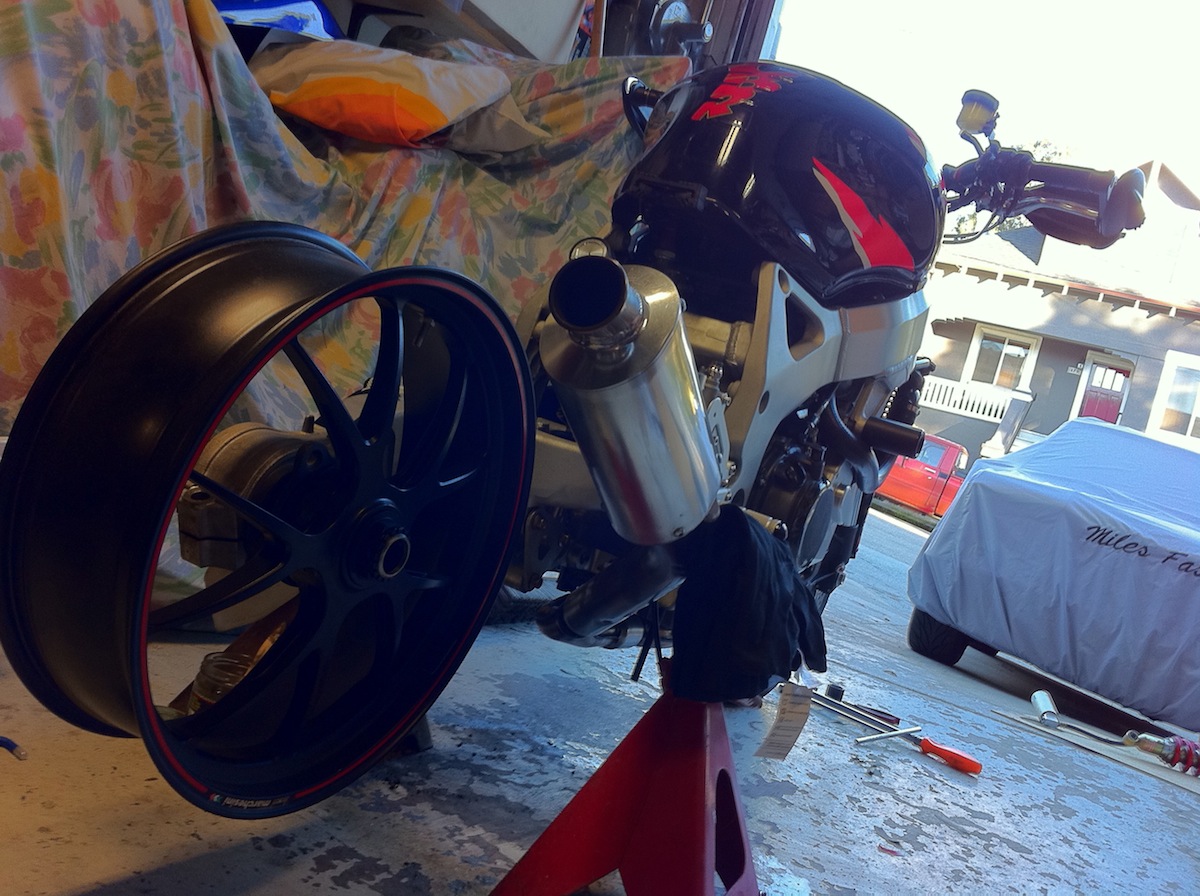
First real mock-up looked very promising, and I was anxious to get the bike back on two wheels as soon as possible.

A simple spacer was all that was needed to install the swingarm in the frame, but more importantly, to align the shock mounting points. Fortunately, the big CBR and VFR both use a left biased offset that is almost perfect - makes me wonder if there was some collaboration between the two design teams at some point, or if Honda was considering using a single arm in the CBR for racing purposes (ala RC30/45).
More rear end and mid-section work to follow. Apologies for the blurry iPhone pics.
February 16, 2012
Winter Project 2011.4 Evolution is a Beautiful Thing.
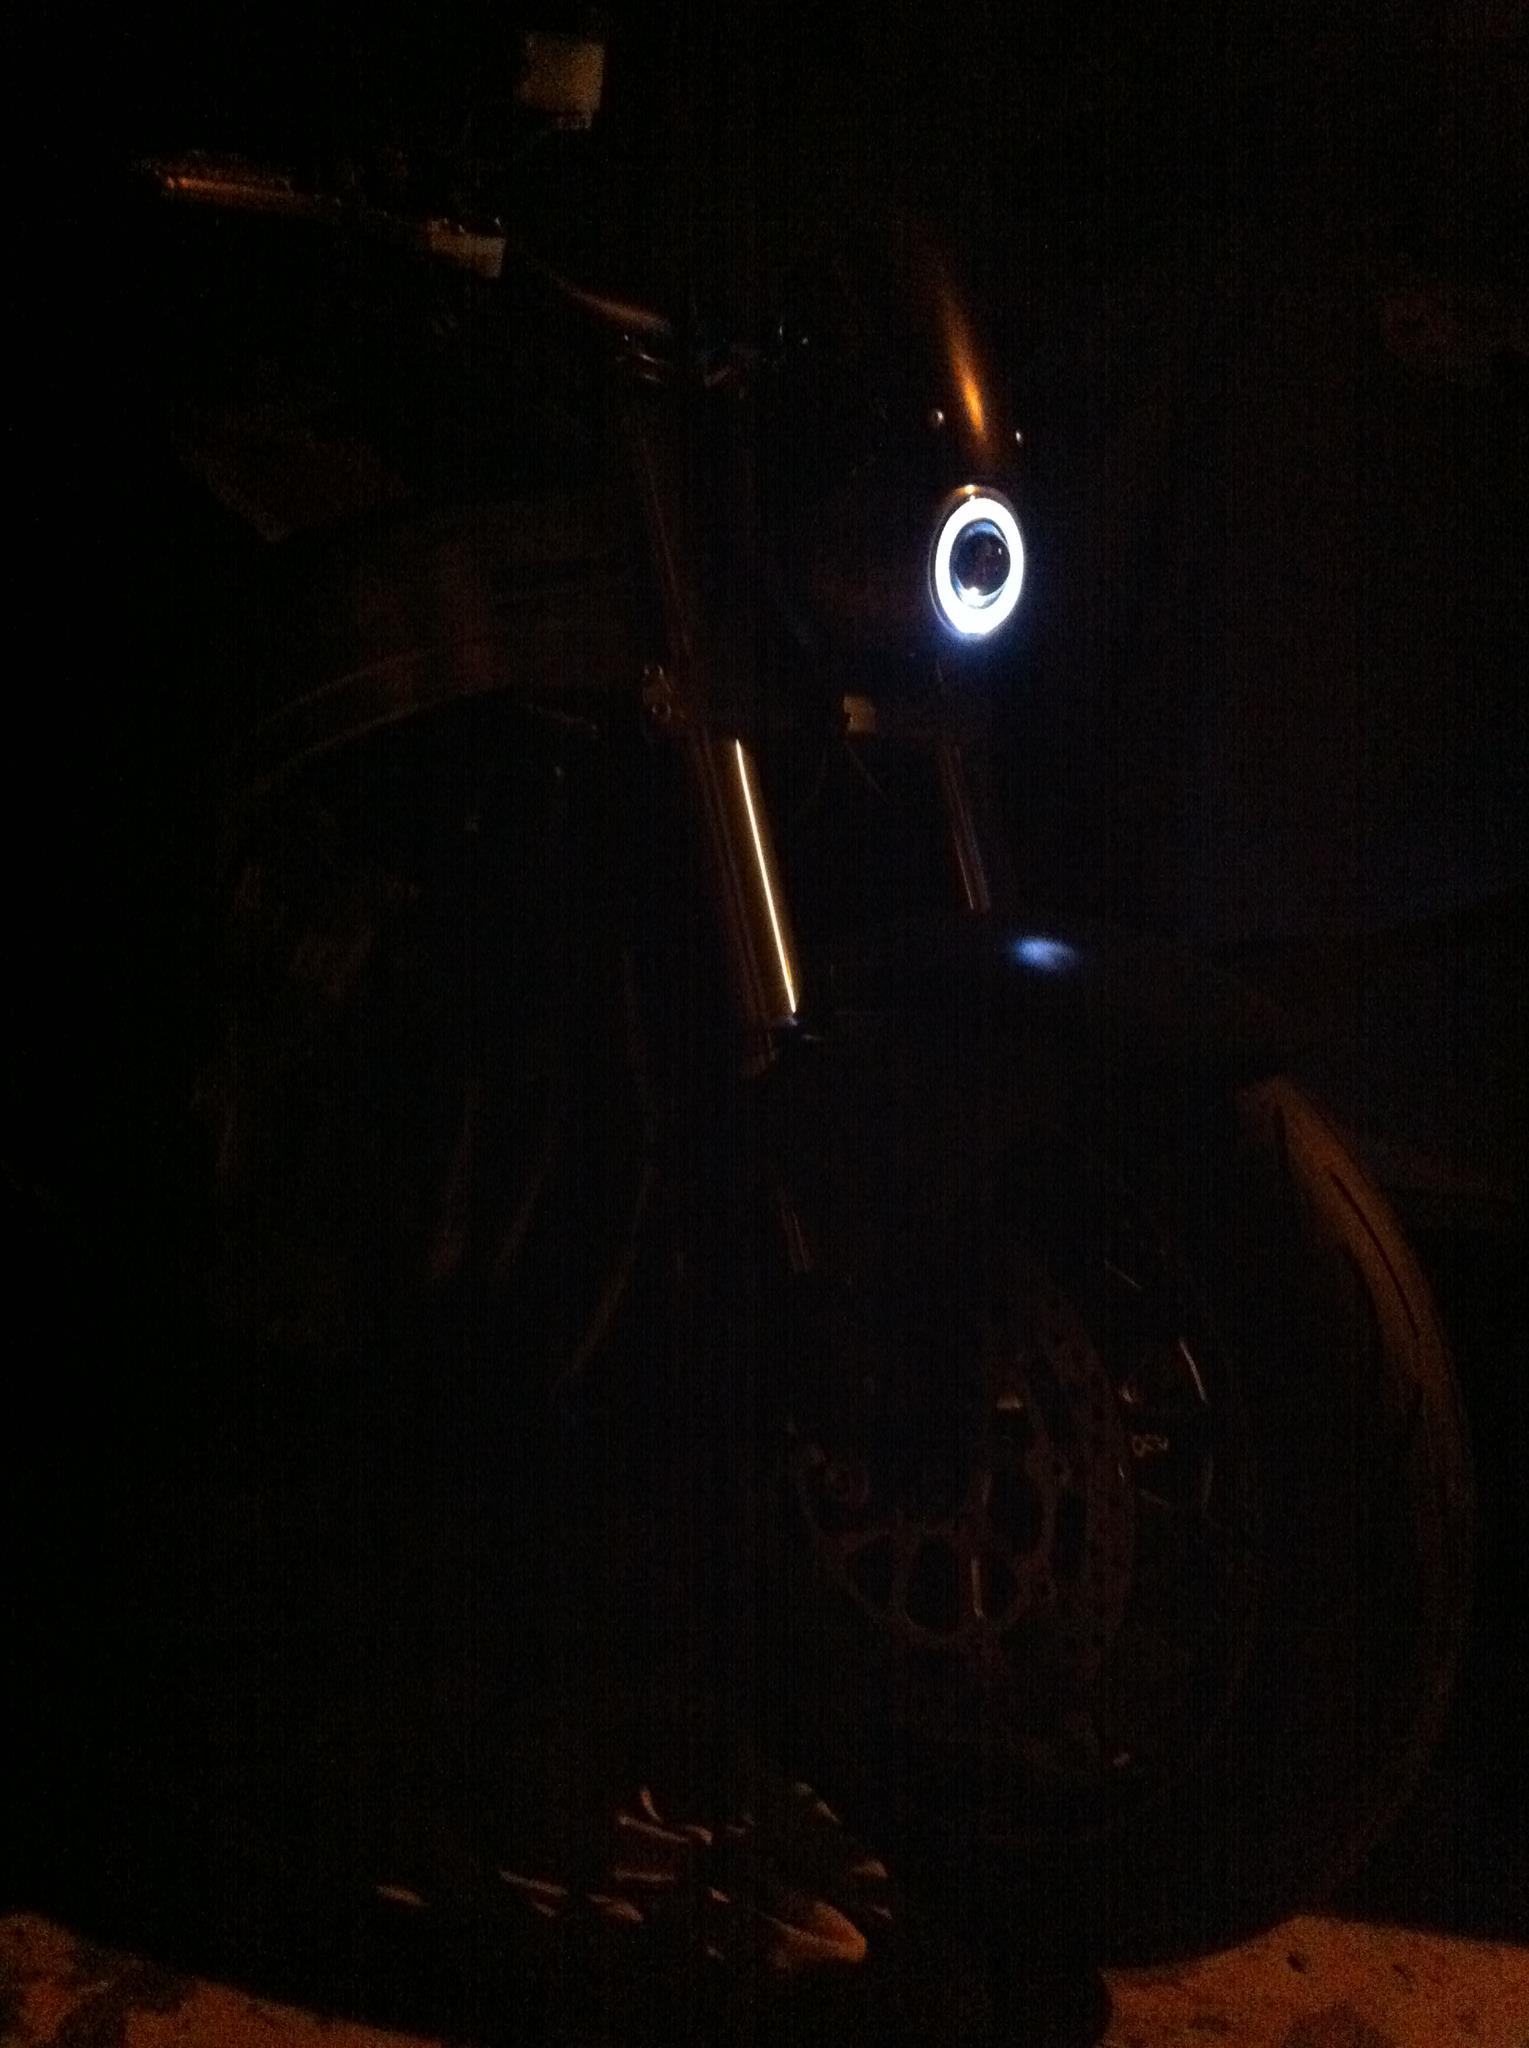
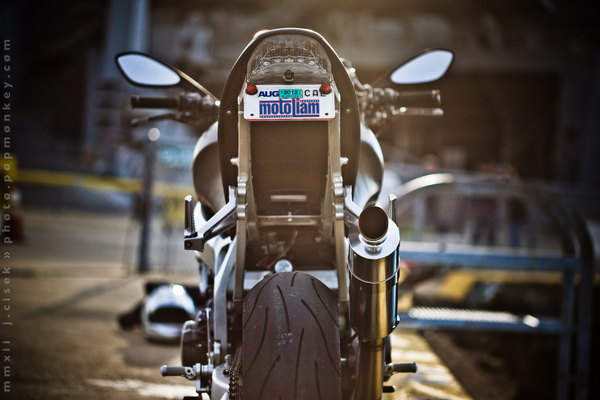
I've been riding quite a bit the last few months, inclement weather or not. Since I've completed the bike, dubbed with many names over the duration of the project, I've managed to put about 5K miles on the hybrid chassis, testing every aspect of it that I can. I'll detail the work I've put into it, but first I wanted to share a wonderful photo I took the other night on Geary Blvd in San Francisco.
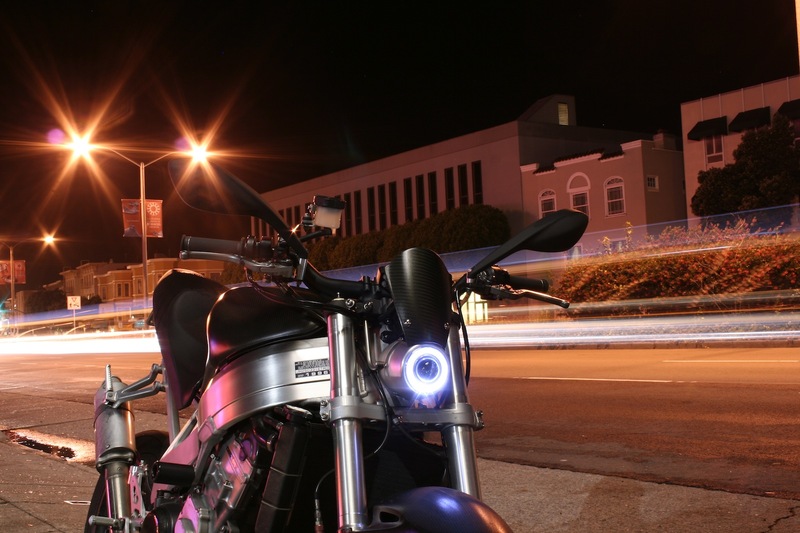
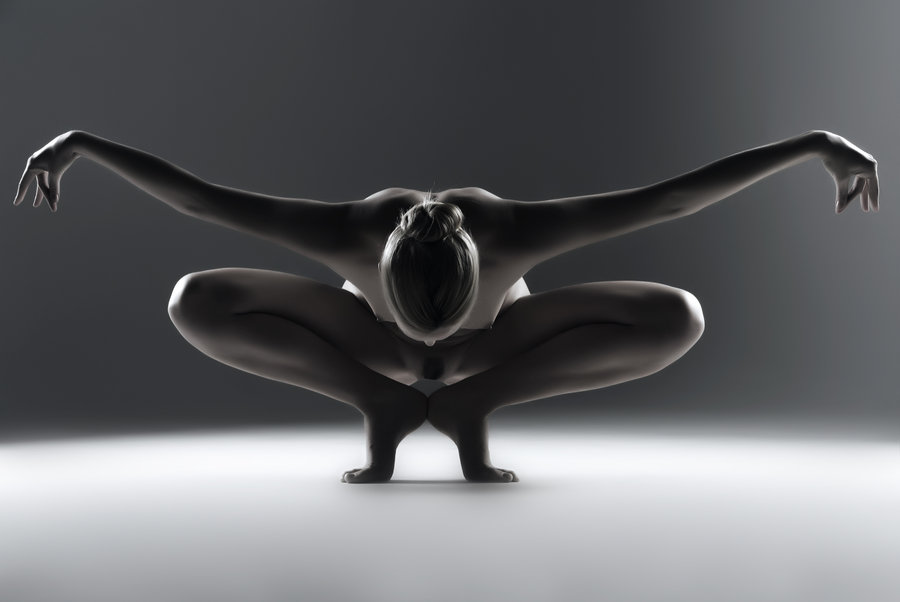
I've been watching my friend become more and more advanced as a photographer, and this inspired me to pull out my "big gun", a Canon Rebel XT that I'd bought in '05 in preparation for my travels overseas. I found my tripod in the boot of my car, and the last few nights have been an re-exploration into framing, composition, and overall picture quality. I've mostly used my big gun for capturing high definition photos of GP bikes, so I could examine and study the detail changes between iterations (see top right corner), but now I'm enjoying using it more for artistic expression. Once the hardware is paid for, digital photos are basically free, so it's a fairly cost effective hobby and it's yet another way to transmit emotion and information. Thanks for showing me some new techniques, Brad!
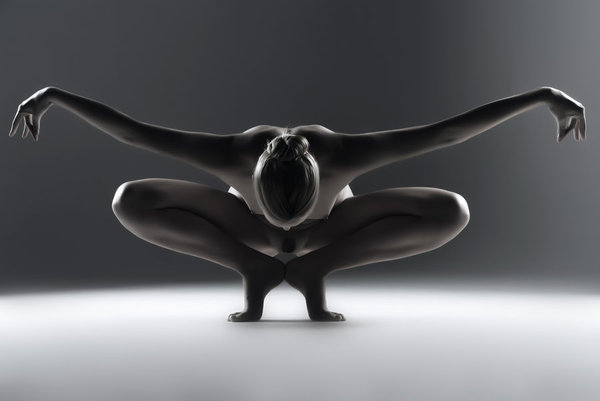
Such expression, artistry, and symmetry in this Praying Mantis pose . . . I'm immediately struck by the similarities to the design of my mirrors, and how they flow straight into the bend of the handlebars. It's this "hooked wing" aspect (or as I prefer to think of mantis' - half bent elbows on strong forearms with downward drooping hands), that captured my interest in the species. Because I can relate!
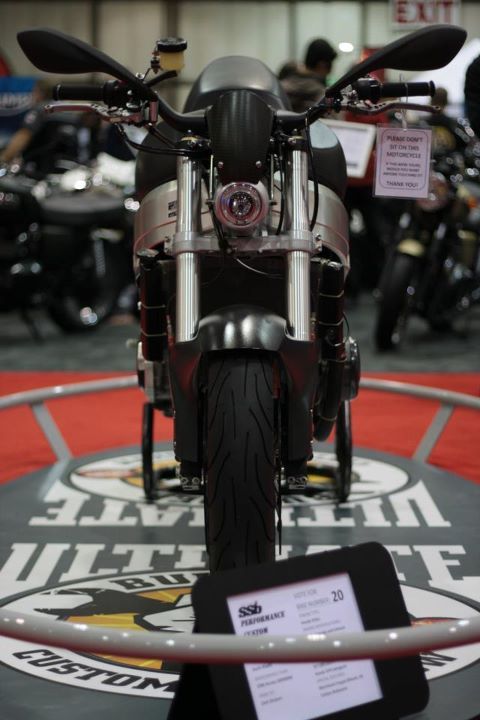
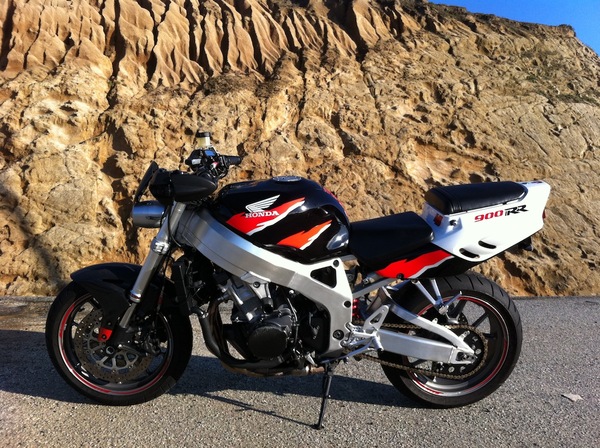
Photos are from a bike competition I entered in late November, which provided a concrete deadline for me to get the bike back on two wheels.

BAM! And so I shall name you . . . ZORAK!

Time permitting, I'll get some more build shots up, including the single sided rear end conversion I made to fit with a single nut forged aluminum Marchesini.
February 11, 2012
Winter Project 2011.3 Front End Beginning
I started collecting parts almost immediately. eBay and Craigslist are great resources for a budget minded builder, and I found a low mileage set of CBR1000RR forks, calipers, trees, etc, for a good price, and then a set of Ducati Marchesini 999S wheels and thin Brembo rotors. Before I could swap out the running gear, I wanted to design my own headlight. This is the "face" of the bike, and it's one of the most important visual aspects to a machine. Nothing "off-the-shelf" would work for me.
I began experimenting with building a carbon fiber bucket, using plastic take out containers from a favorite Thai restaurant and a margarine tub as bases to take molds from. While I was imagining what I wanted to create, I started to see the final product, and I knew it would be a simple aesthetic of carbon and aluminum.

After all . . .
CARBON IS THE NEW BLACK.

I fit the wheel in the forks and cut up some spacers on a lathe to center the Ducati wheel on the Honda axle. Fortunately, the axle diameter was the same size, so I didn't need to change the wheel bearings or the inner spacer in the rim. The rotors were a bit inboard of the Tokico calipers, so I machined some rotor plates to bring each rotor out by 2mm. I really like that these rotors are so thin, the reduction in mass is a boon for a guy like me (who's wheelie abilities are not that great). These forks are also lighter than the ones I would be removing. Everything was aligned perfectly, and I was anxious to see this front end transplanted. The triple trees reduced the offset by a few mm, and would quicken steering considerably. This is actually at the Mythbusters shop garage near Caesar Chavez/Army in SF. A friend wanted to see how I would put everything together, and in exchange I was able to use some very large machines.
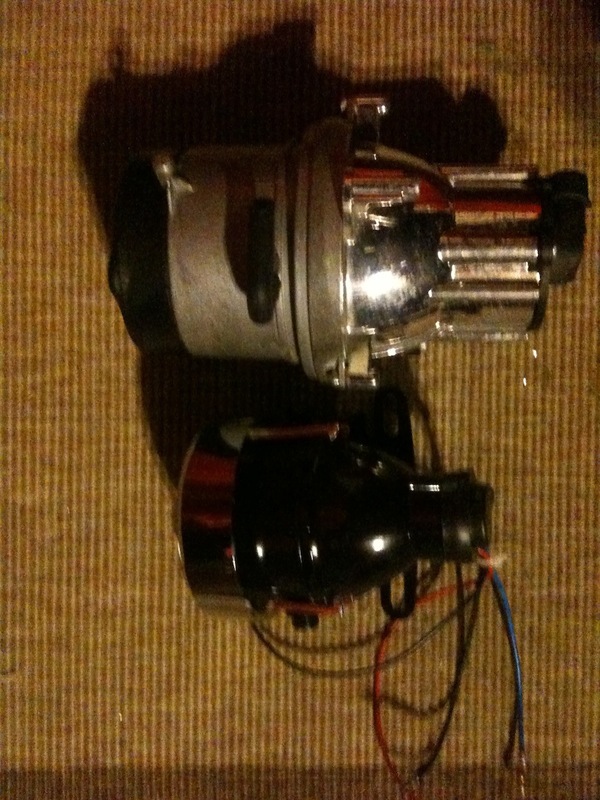
I knew I wanted a projector beam headlight, so I purchased a 999 headlight and also found another projector (from an automobile). The 999 headlight was absurdly long, and I didn't want anything hanging that far from the neck on my naked bike. I suppose with some carbon work I could have built a tiny mini-fairing, ala first gen Katana, that would have looked alright, but I wanted this bike to be as minimalist as possible.

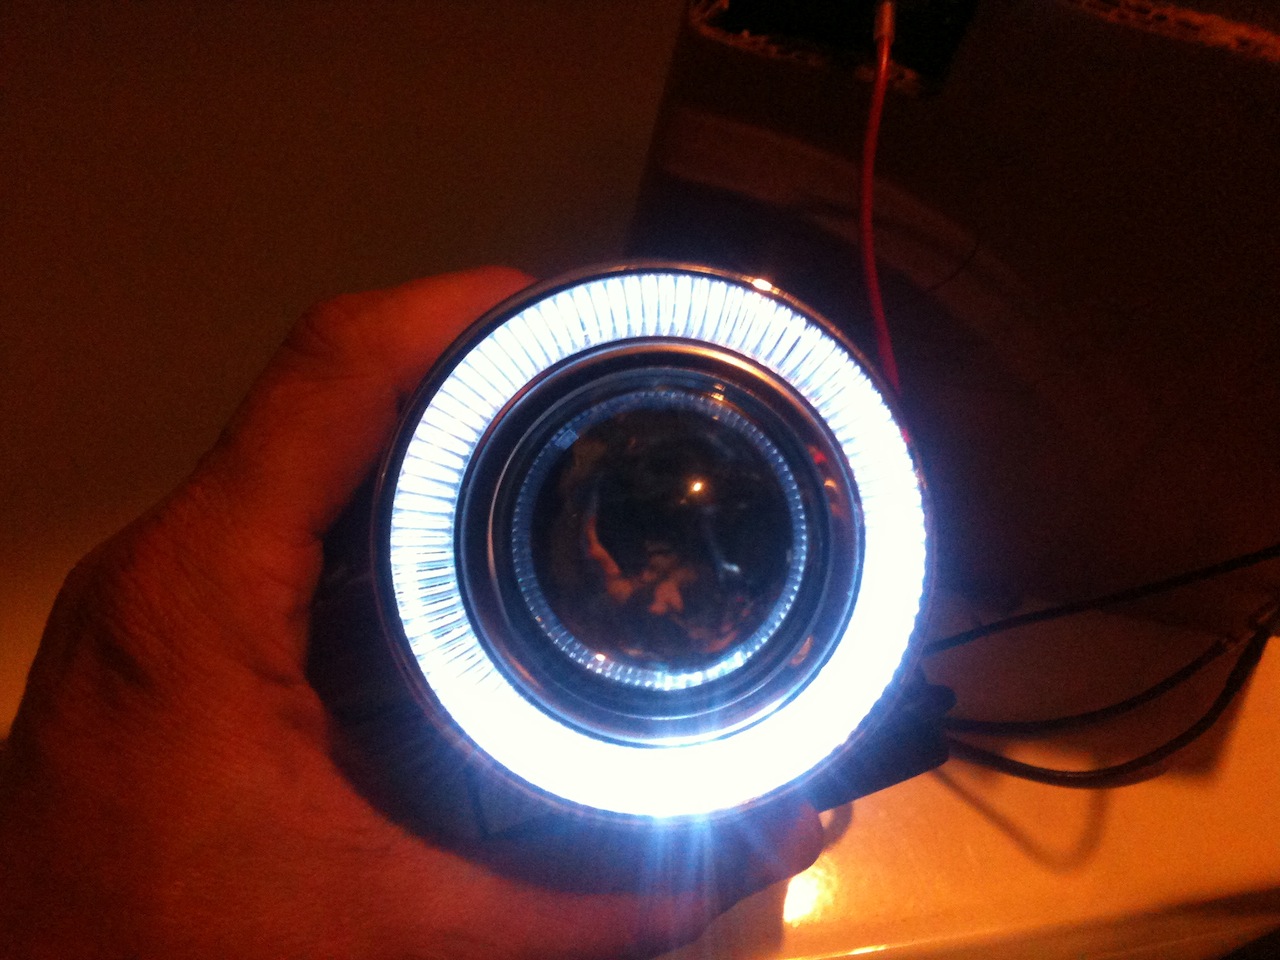
I decided to proceed with the lower light. It was already equipped with an LED Halo ring, which I wanted to incorporate into my design. Why should only late model cars get all the cool lighting effects?

I took the stock exhaust canister (which weighs more than a comparable sized fire extinguisher), and chopped it up. I liked the single bead of weld around the end cap, and thought that would make a unique headlight housing . . . and also keep parts within the project.
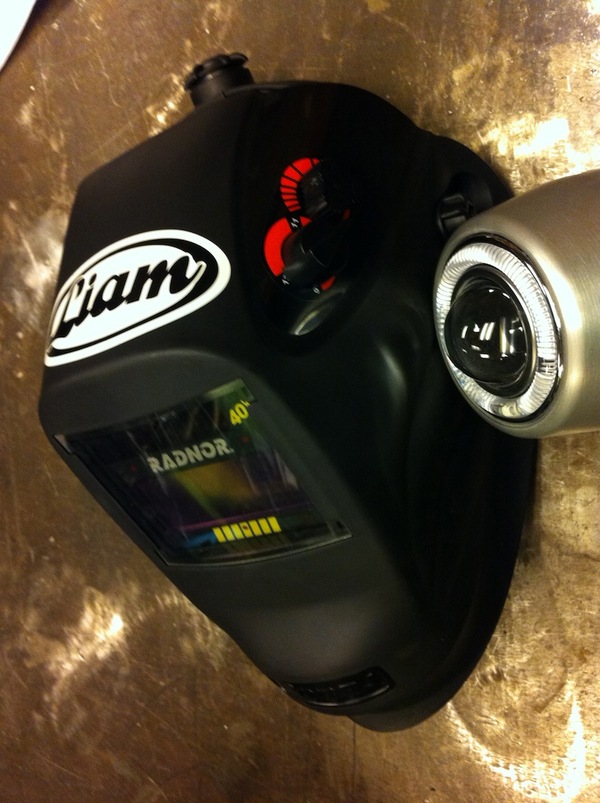
Ultimately, I settled on using aluminum for the headlight shell, and for a quick mock-up, I welded a steel ring together with flanges. Later, the steel was replaced with an aluminum center ring, lathed to fit and lighter. I am extremely pleased with how it turned out.
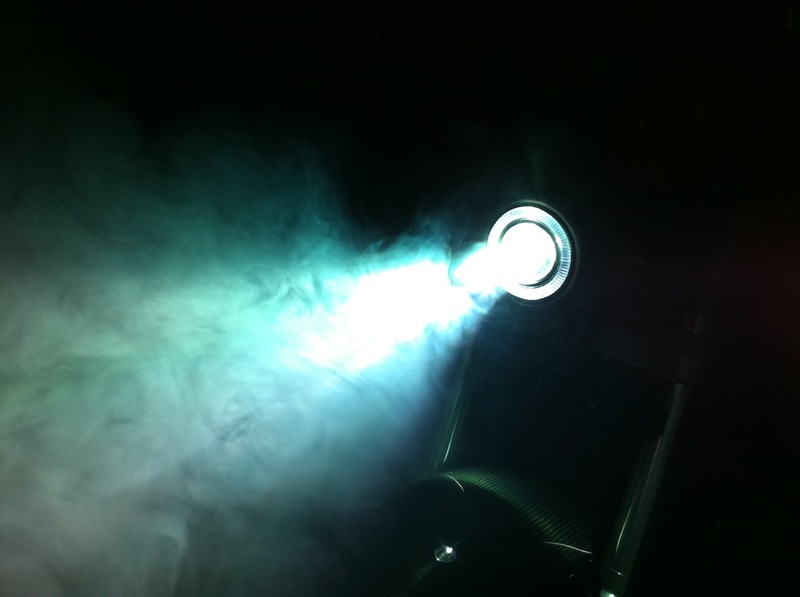
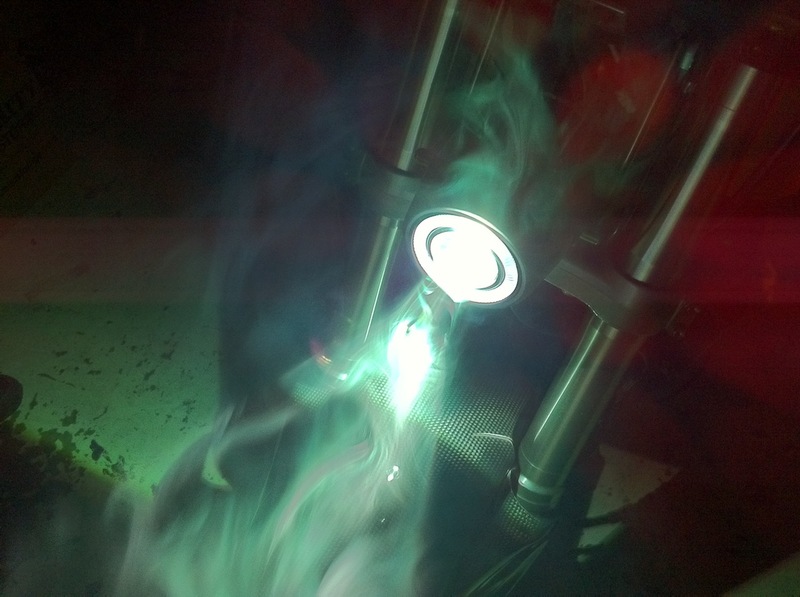
Along with the Halo, I mated an HID kit to the projector, and the ballast for the headlight resides under the fuel tank. The light is bright white, and it took me a while to get used to when driving at night. But, it is powerful, more powerful than many bike's high beams (but focused, so no blinding of oncoming traffic).
I modified the steering stops on the triple trees to get back some of the steering radius I lost with the low offset of the '07 front end. It's a bit "buellish" now, but perfectly fine for the street or track.
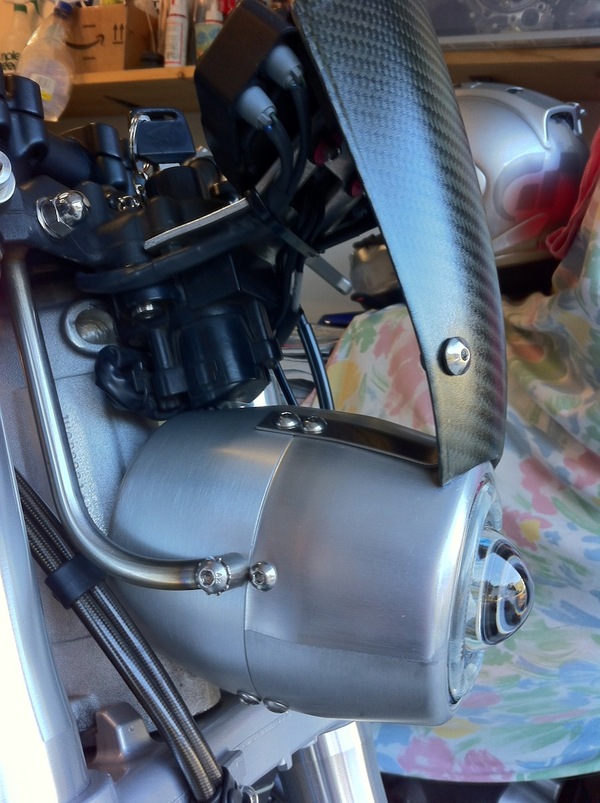
Once the headlight design was actualized, some stainless steel tube was bent and welded, and the mounting points to the triple trees are hidden. The silver anodized fork tubes are completely free of clamps/brackets. I machined the top triple tree (on the underside) so I could properly position the original 900RR fork lock, and also to create clearance for the headlight. I recessed the bucket as far back as possible, milling the lower edge of the rear bucket to clear the frame tabs that mount the fairing stay. It is a very simple matter to disconnect the headlight harness, remove two bolts, and have a completely bare front end. I'm thinking at some point I will adapt a carbon fiber fairing of some sort for trackdays, and this quick detach ability will come in handy. Not to mention, it's cool and I'm happy I didn't modify the frame. This was another goal of mine, albeit a low priority one.
I used a Trailtech Vapor gauge because they're designed by Americans living outside of Portland, OR, and it is a small and simple to install unit. It tracks overall mileage, trip mileage (and run time), speed, temperature (engine and ambient), and has programmable shift lights for the LCD bar tach. I really like it, and when installed nicely it blends in well and is very functional at night, thanks to the backlit LCD screen. I am fairly impressed with the device, particularly for the price, but I do have some concern for the gauge of wire used. It's quite small, and as an added safety measure against the elements (I ride, rain or shine), I built a small carbon fiber fly screen to keep the storms and debris from causing any damage.
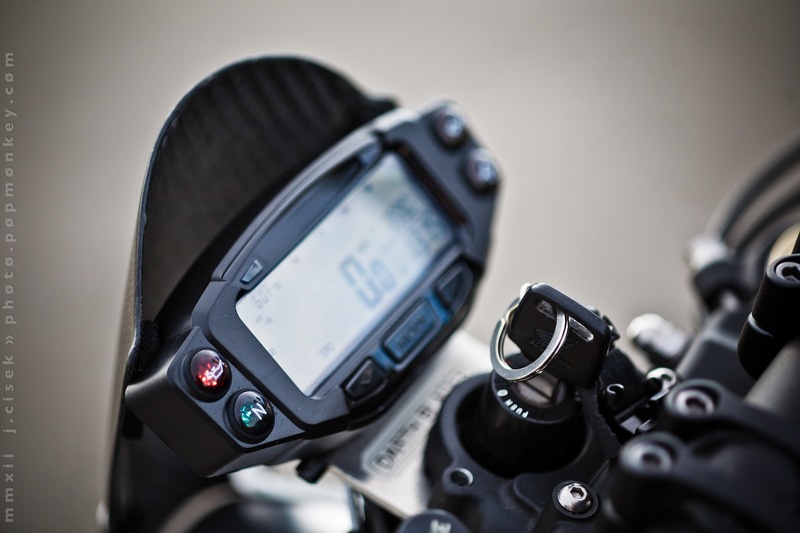
Another nice feature of the Trailtech gauge is that there is an optional plastic "dash" that can be added which houses 4 additional "idiot" lights. I wired up my headlight, oil pressure light, neutral, and turn-signals to these (because it's a streetbike).
All the wiring for the gauge, ignition, and '07 switch boxes, is neatly routed back under the fuel tank. I was surprised to find that the '07 CBR1K throttle cables fit perfectly to my 900RR carbs, and the newer control boxes were slimmer and much nicer than my old ones. As you can surmise, very big handlebars are mounted, but that's for a later post.
I've got wheelies to do.